문서번호 : 11-234203
1. 설정 파일 Path 확인
1) rpm 설치 시
•
설정 파일 위치 : /etc/singlestore/singlestoredb-studio.hcl
2) tarball 설치 시
•
설정 파일 위치 : [memsql home]/singlestoredb-studio-xxxxxxx/singlestoredb-studio.hcl
2. Studio 설정
1) 설정 파일(singlestoredb-studio.hcl)을 통해 설정 변경 가능
•
host: bind IP (0.0.0.0 = host 의 모든 IP 로 연결 가능함을 의미)
•
port: bind PORT
•
statePath: WEB 에서 등록한 클러스터 접속 정보를 저장할 hcl 파일 경로
•
logPath: 로그 파일 경로
•
tarball 설치일 경우 statPath, logPath의 경로를 직접 설정해 주어야 하며,
설정된 파일은 Studio를 실행하는 user에 대해 write 권한이 있어야 합니다.
sudo vi singlestoredb-studio.hcl
# This is the IP address that SingleStore DB Studio will bind to.
host = [Host IP 주소]
# This is the port that SingleStore DB Studio will bind to.
port = [Studio용 Port 번호]
# This is the path to the state file of SingleStore DB Studio.
statePath = "/var/lib/singlestoredb-studio/studio.hcl" # 클러스터 접속 정보
# This is the path to the log file of SingleStore DB Studio.
logPath = "/var/lib/singlestoredb-studio/studio.log" # 로그 파일 위치
Bash
복사
3. Studio 기동/중단
singlestoredb-studio 는 직접 기동(statup)/종료(kill) 시킬 수도 있습니다.
sudo singlestoredb-studio &
Bash
복사
하지만, 아래의 절차에 따라 service 파일을 등록하여 관리하는 것을 권장합니다. service 를 enable
시키면 시스템 부팅/셧다운시 자동으로 서비스가 기동/중단됩니다. 본 절차는 root 권한이
필요합니다.
1) /usr/lib/systemd/system/singlestoredb-studio.service 파일에 다음내용 추가
sudo vi /usr/lib/systemd/system/singlestoredb-studio.service
[Unit]
Description=SingleStore DB Studio
Documentation=https://docs.singlestore.com/studio-redir/systemd
[Service]
ExecStart=<singlestoredb-studio 실행파일이 있는 디렉토리 절대경로>/singlestoredb-studio --config <singlestoredb-studio.hcl 가 있는 디렉토리 절대경로>/singlestoredb-studio.hcl
# YUM 설치시 옵션 없이 아래 처럼 설정 (기본: /etc/singlestore/singlestoredb-studio.hcl)
# ExecStart=/usr/bin/singlestoredb-studio
Restart=on-failure
# 데몬의 로그가 /var/log/messages에 기록하기 않게 하기
StandardOutput=null
StandardError=null
[Install]
WantedBy=multi-user.target
Bash
복사
2) 링크파일 생성
sudo systemctl enable singlestoredb-studio
# 또는 다음과 같이 직접 링크 생성해도 됨
sudo ln -s /usr/lib/systemd/system/singlestoredb-studio.service /etc/systemd/system/multiuser.target.wants/
Bash
복사
3) 상태확인 및 기동, 중단
sudo systemctl status singlestoredb-studio # 상태 확인
sudo systemctl start singlestoredb-studio # 기동
sudo systemctl stop singlestoredb-studio # 중단
sudo systemctl restart singlestoredb-studio # 재기동
Bash
복사
4. Cluster 접속 설정
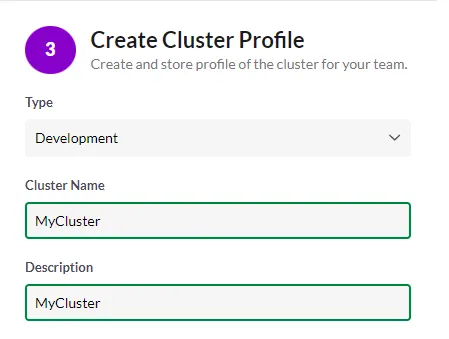
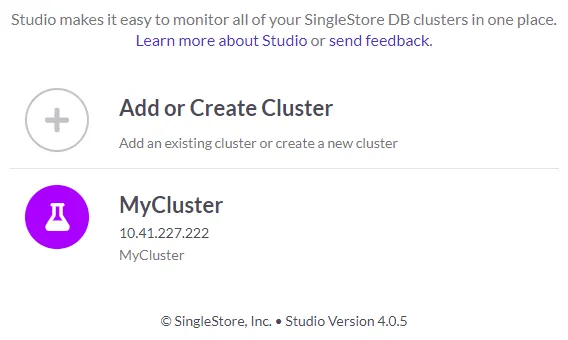
2) Cluster 생성(최초 접속 시)
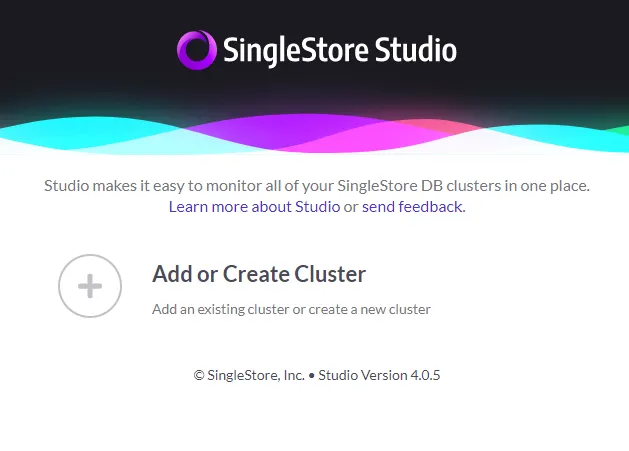
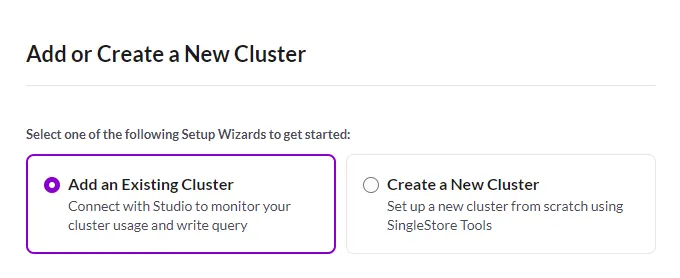
1. [Add or Create Cluster] 버튼 클릭 -> [Add an Existing Cluster] 선택 후 [Next]
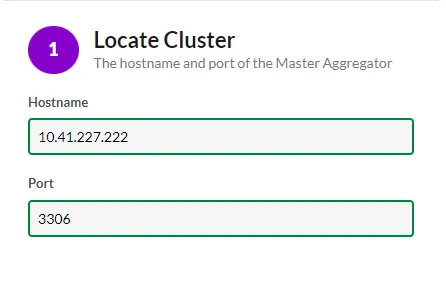
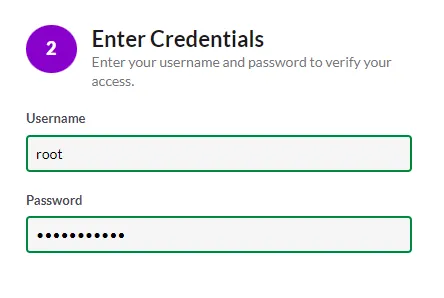
2.IP 주소, MA 의 포트 번호 입력 -> 접속 계정명(root) 및 비밀번호 입력
3. 사용용도 선택 및 Cluster 명, 설명 작성 후 [Submit]
5. Studio 접속 및 모니터링
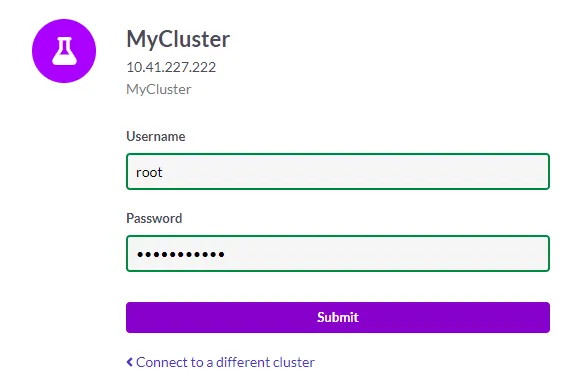
1) Studio 접속 (Cluster 설정 후)
접속할 Cluster 선택 -> 사용자 계정(root) 및 비밀번호 입력
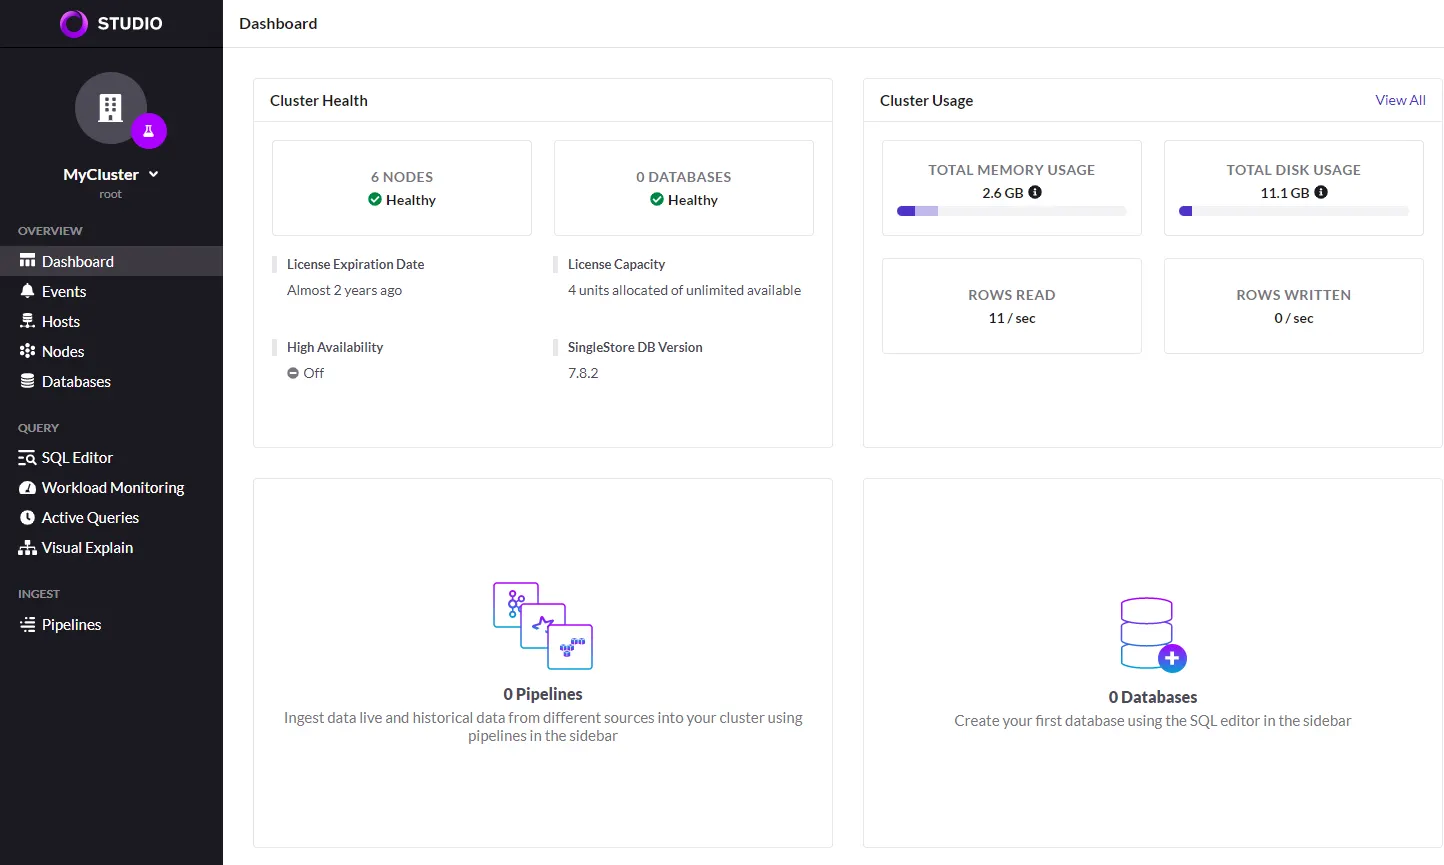
2) Studio 모니터링
1. Dashboard : DB 전체 상황 요약 모니터링
2. Events : DB 내 발생 이벤트 목록 조회
3. Hosts : 호스트 목록 및 정보 조회
4. Nodes : 노드 목록 및 정보 조회
5. Databases : 데이터베이스 목록 및 정보 조회
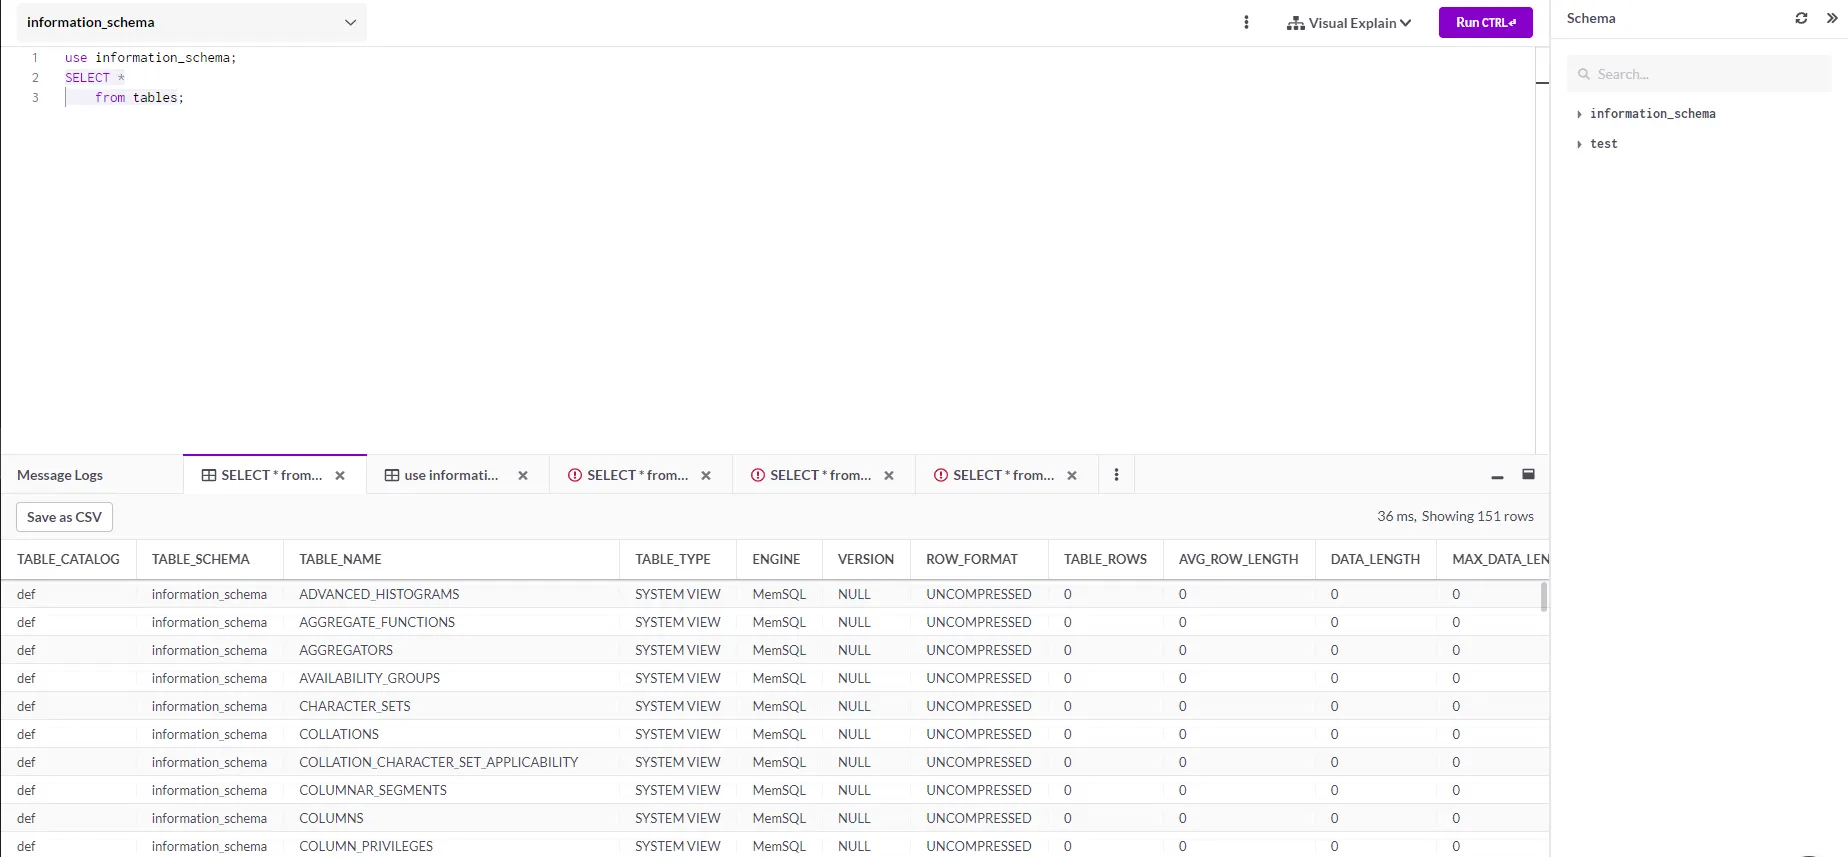
6. SQL Editor : SQL 쿼리 작성 및 실행, 결과 조회
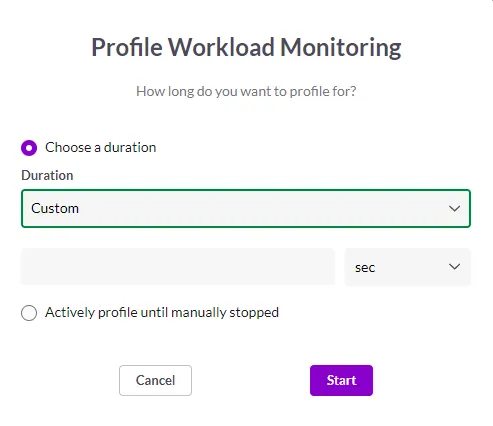
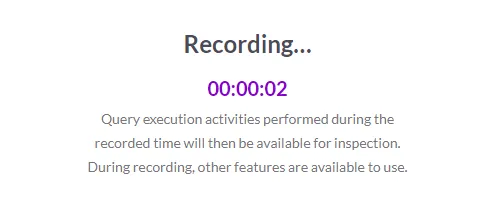
7. Workload Monitoring : 사용자가 지정한 기간 동안의 리소스 사용량 조회
8. Active Processes : 실행중인 프로세스 목록 조회
9. Pipelines : 파이프라인 목록 및 정보 조회
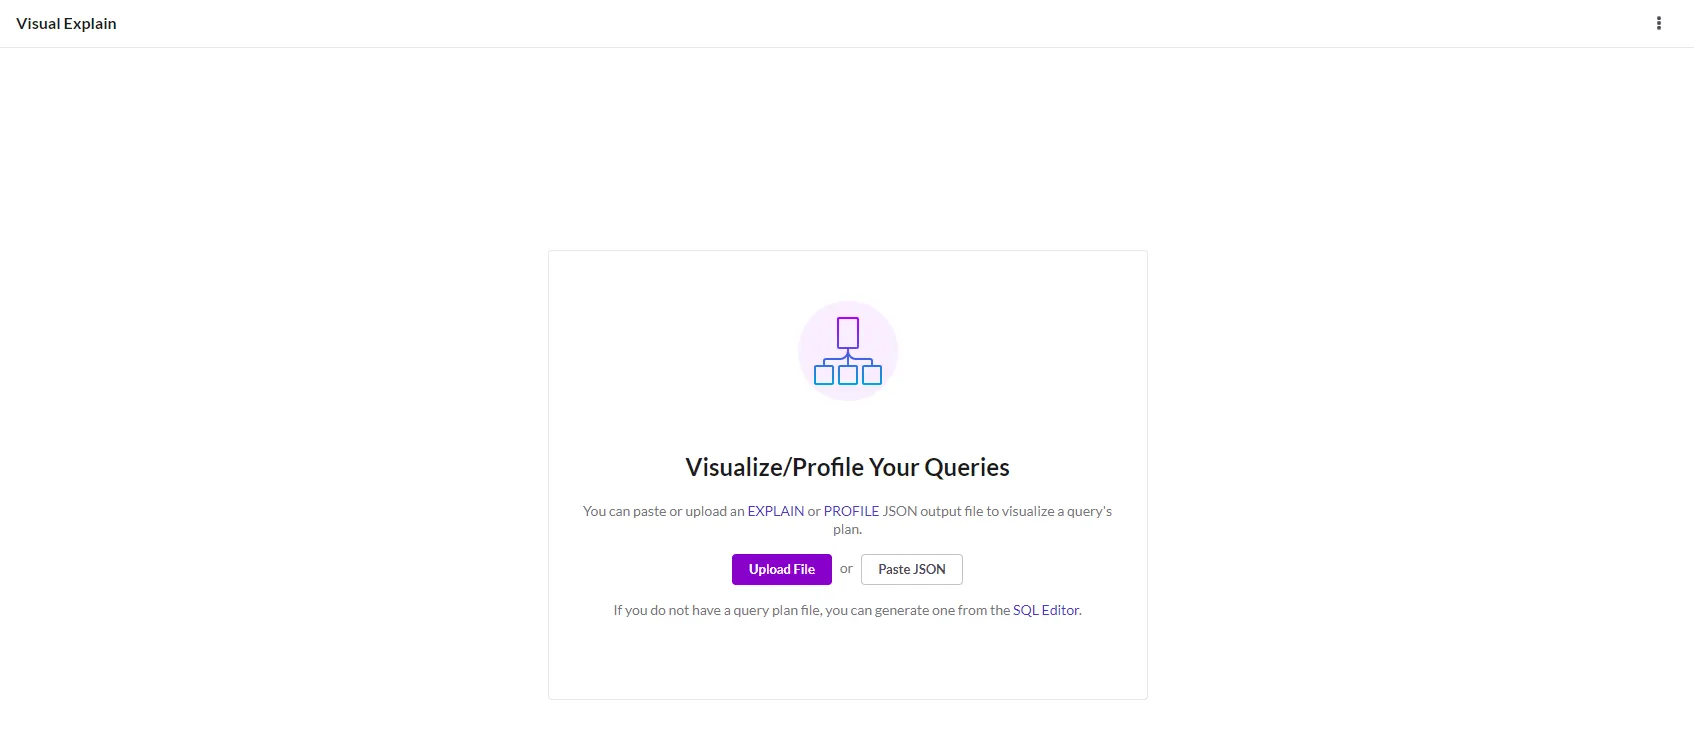
10. Visual Explain : 실행 계획 시각화 조회(Json 파일 import 가능, SQL Editor 에서 실행한 쿼리
조회 가능)
일자 | 작성자 | 비고 |
2022.4.28 | min | |
2022.8.10 | kkh, osk | Studio 설정 주의 사항 추가 |
2024.11.13 | kkh | service 설정 추가 : messages 로그에 기록하지 않기 |


